Set up MyAgens in five minutes
MyAgens is a self-hosted fleet of AI agents that runs on your own machine. You command it from the web panel, from Telegram, or from Slack, and nothing risky runs without your approval. This guide gets you from nothing to a working fleet in about five minutes.
What you need
- A machine you control (your Mac, a Windows PC, or a Linux server or VPS) that can stay on.
- A terminal, and permission to install software on that machine.
- A way to reach a model. Claude is the default: either a Claude Pro or Max subscription (you log in during setup) or an Anthropic API key. You can instead run agents on Codex, Antigravity, Cursor, Grok, or a local model through Ollama, each with its own account. See Choose an AI backend.
- Nothing else is required. The web panel is a complete setup on its own. Telegram and Slack are optional add-ons for reaching your fleet from a phone, and the wizard has a Skip button on both. You can add either later from the panel without reinstalling anything.
You do not need Docker. MyAgens runs as a plain background process, and the installer sets up its dependencies (Node, git, the Claude CLI) for you.
1. Install MyAgens
Pick your platform and run the installer:
- macOS or Linux: see Install on macOS or Install on Linux.
- Windows: see Install on Windows.
On every platform the installer does the mechanical part in the terminal, then finishes on a guided setup page in your browser (the step-by-step shows every screen); a terminal-only wizard covers headless machines and SSH. Either way it installs the dependencies, configures your bot and Claude, and can run MyAgens as a background service.
2. Open the web panel
The browser setup finishes signed in to the panel. The terminal wizard prints a local panel URL and a one-click login link at the end instead. Either way you land on your fleet, its memory, and the activity log. See Open the web panel for what it does and how to reach it from your phone.
3. Add a chat surface, if you want one
This step is optional. Skip it and the panel's Chat view drives Atlas directly, with the same working directory, autonomy level, approvals, and conversation history you would get in a chat app.
Telegram
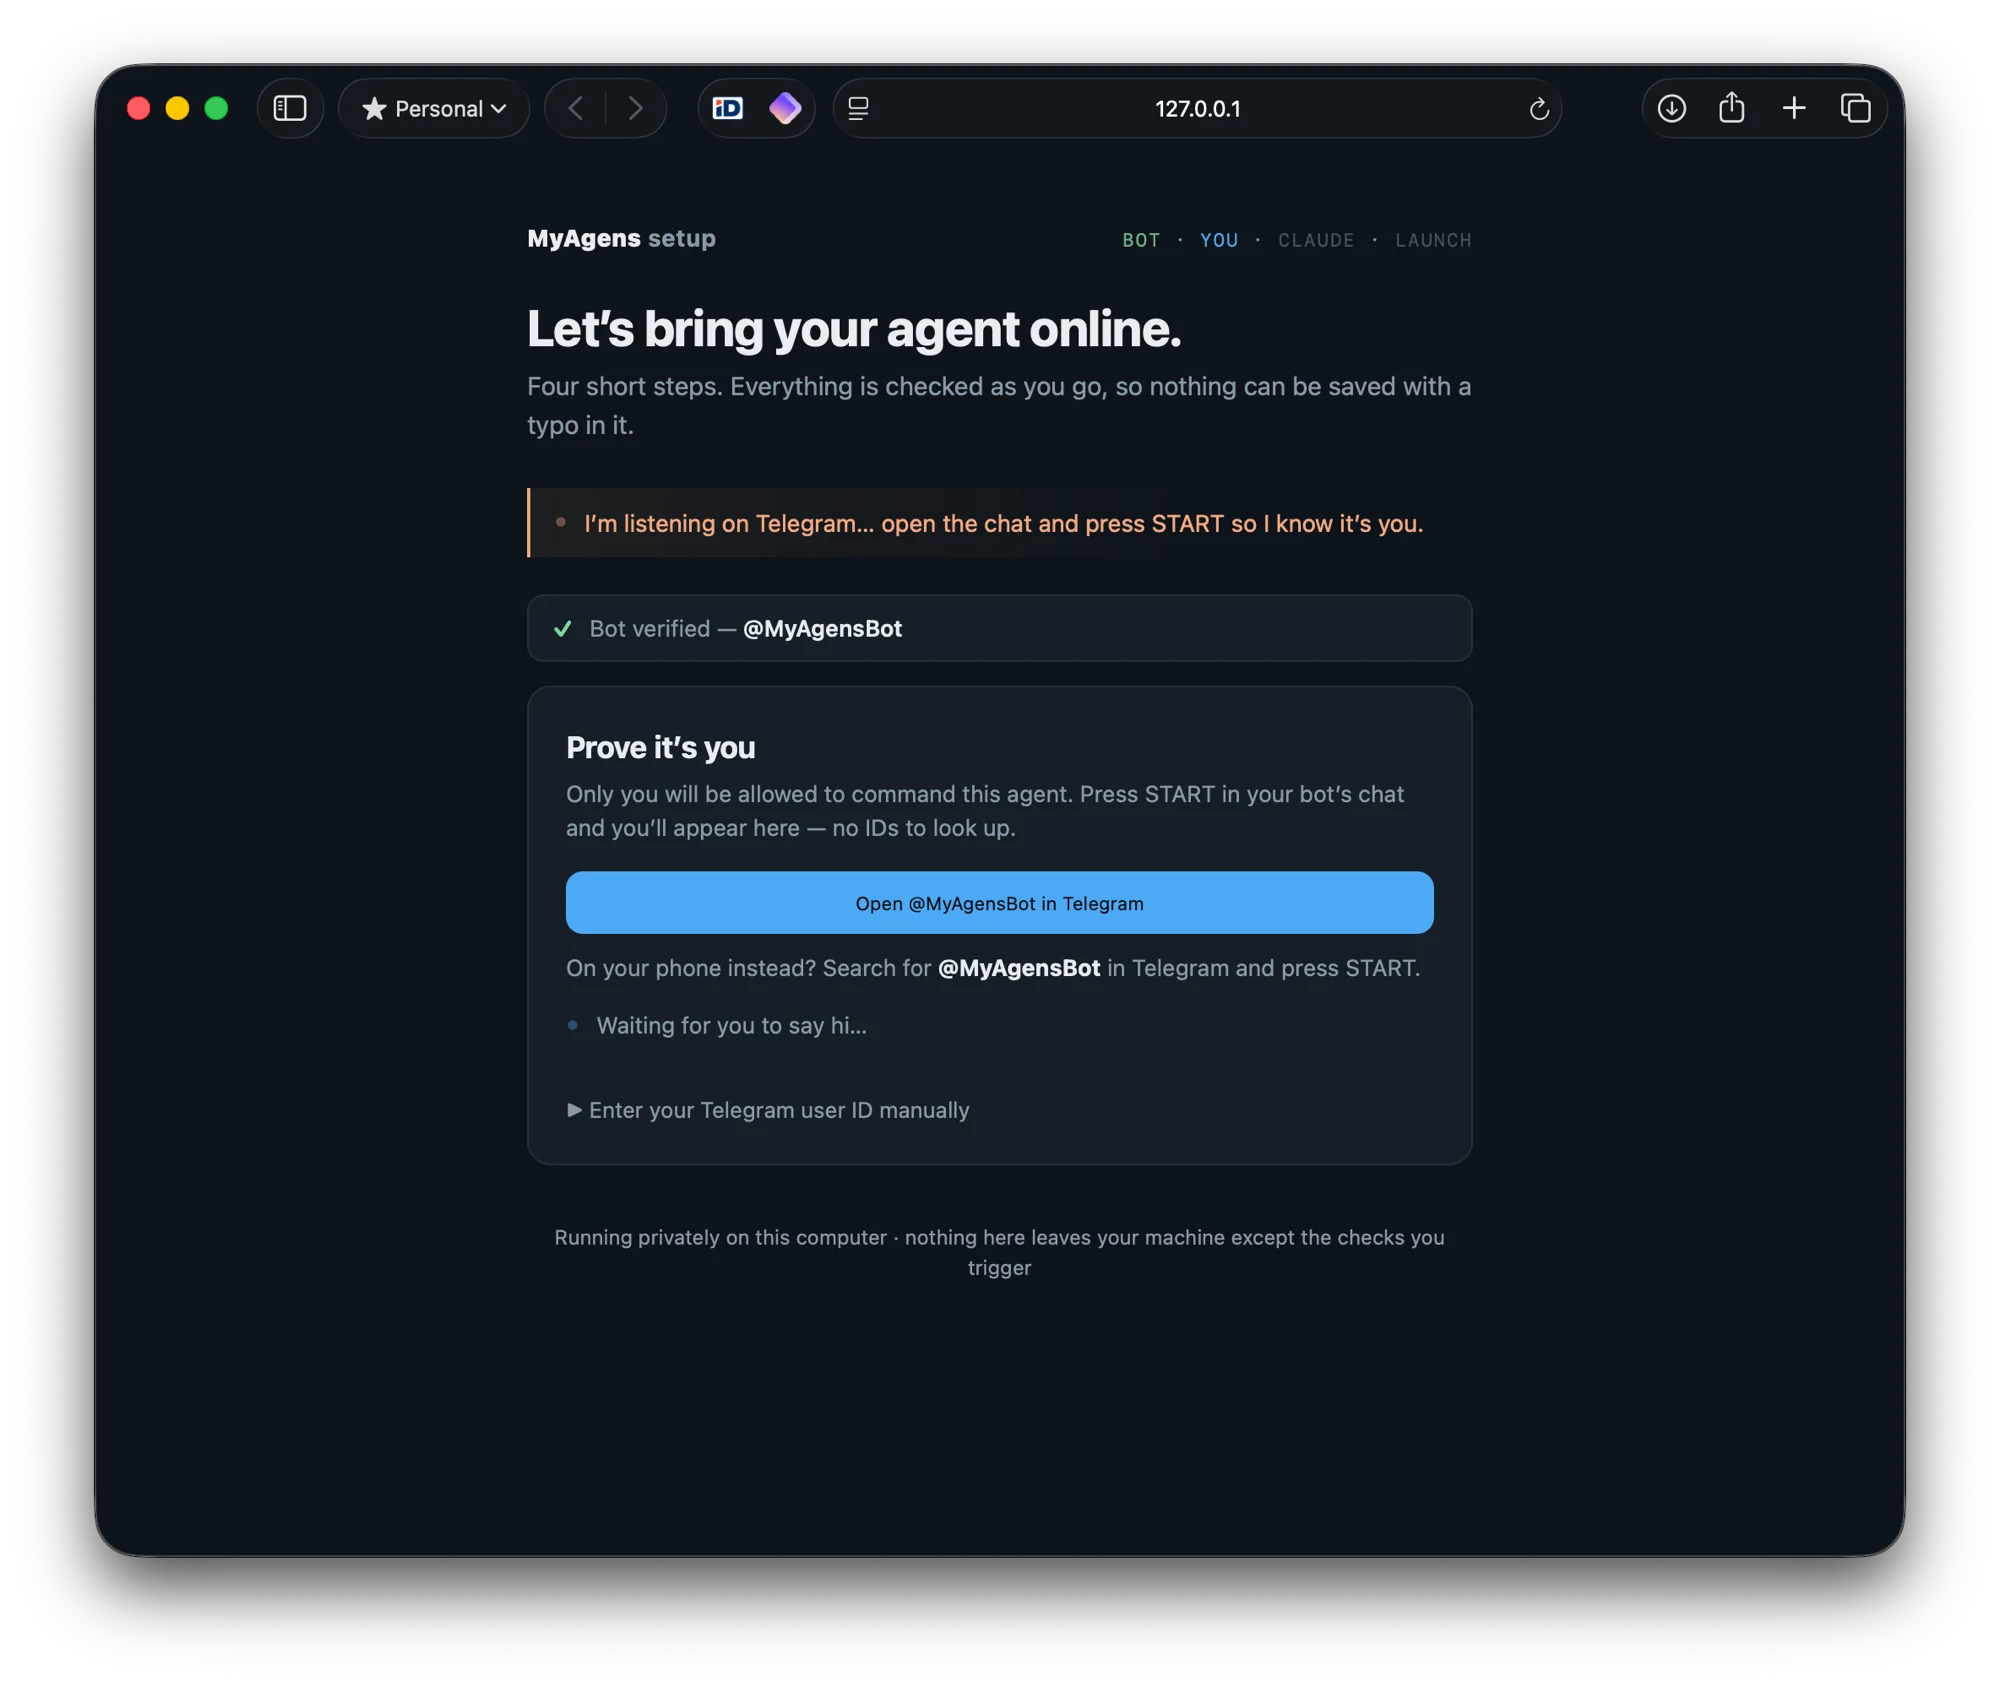
Setup connects two things: a bot token from @BotFather and your Telegram user ID. The user ID is your access barrier: MyAgens only takes orders from the IDs on the allow-list and silently ignores everyone else. The browser setup detects your ID when you press START in the bot's chat and confirms with a checkmark message; the terminal wizard asks for it instead (how to find it). Create the bot in How to create your first Telegram bot with BotFather; BotFather's Mini App makes it a one-minute form, and while you are there you can turn on Restrict bot usage so Telegram itself blocks everyone but you.
Slack
The wizard has an optional Slack step too, and the panel has Settings → Slack. Both hand you the app manifest to paste, check each token against Slack before saving, and detect your member ID from a direct message. Full walkthrough in Connect MyAgens to Slack.
4. Send your first command
Ask the fleet for something small to confirm the loop works end to end, for example a quick summary of a file or a one-line change in a project you point it at. You approve the plan, it runs, and you see the result.
That is the whole loop: you ask, the fleet proposes, you approve, it acts. From here, add skills, schedules, and more agents as you need them.
Next steps
- New to the idea? What is MyAgens? explains the President, Atlas, and Leads command structure.
- Build your crew to add specialist Lead agents, each with its own memory and workspace.
- Connect your tools so the fleet can reach Slack, GitHub, calendars, and more.
- Approvals and autonomy to tune how much runs on its own.
Get MyAgens
Self-hosted and open source. Install it on macOS, Linux, or Windows, then command your fleet of AI agents from Telegram or Slack.
More in Getting started